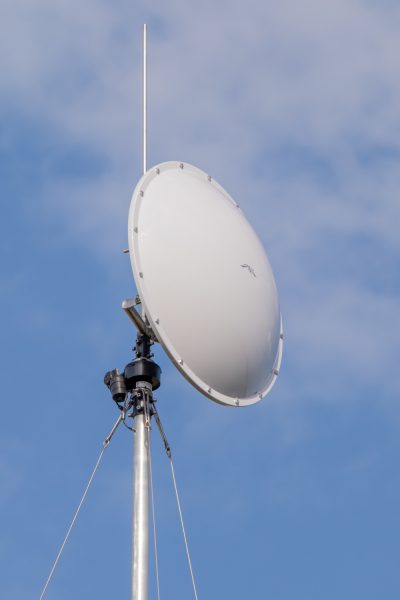
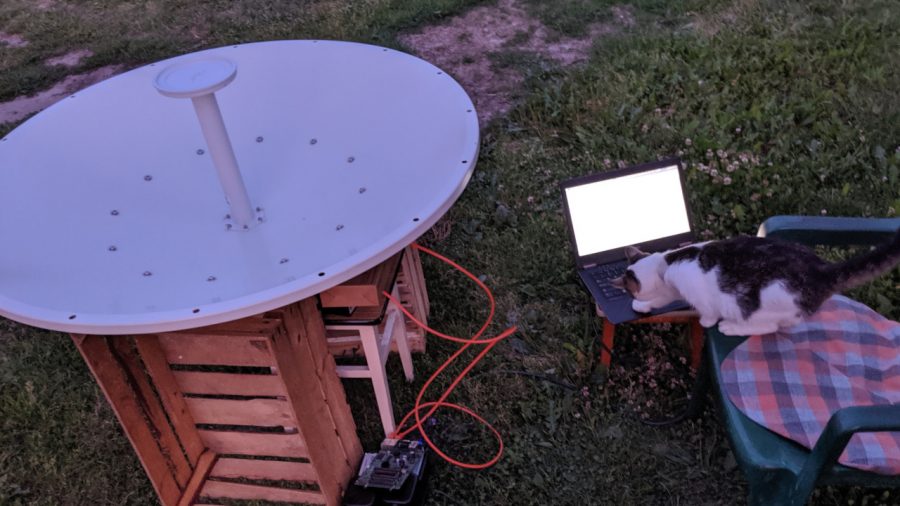
Ubiquiti RocketDish 5G34 is a dual-polarization 4.9-5.8 GHz dish antenna with a peak gain specified as 34 dBi at 105 cm diameter. This is the largest dish from the RocketDish series. A radome is available as an optional accessory (RAD-RD3).
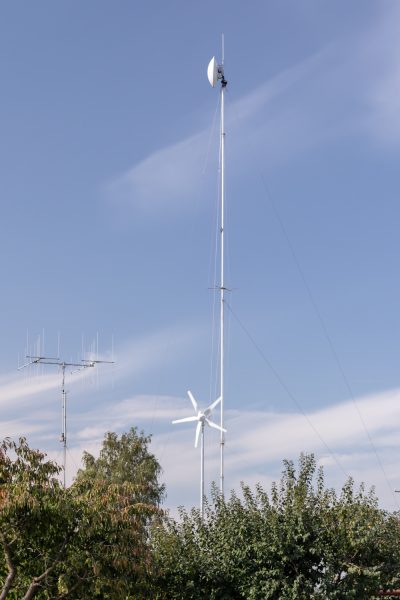
I installed it in August 2020 at the top of 20 m mast with an antenna rotator for Wi-Fi DX-ing. It replaced my previous 18 m mast with RocketDish 5G31-AC which was damaged.
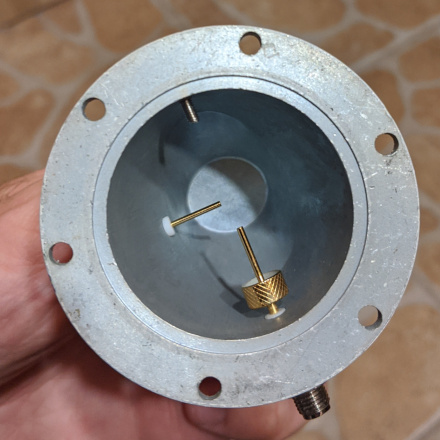
The antenna feed can be easily disassembled by unscrewing the screws. There are two gold-plated driven elements inside the wave-guide and an additional screw, likely for the fine-tuning. The waveguide parts are sealed with an o-ring and the overall quality looks very good.
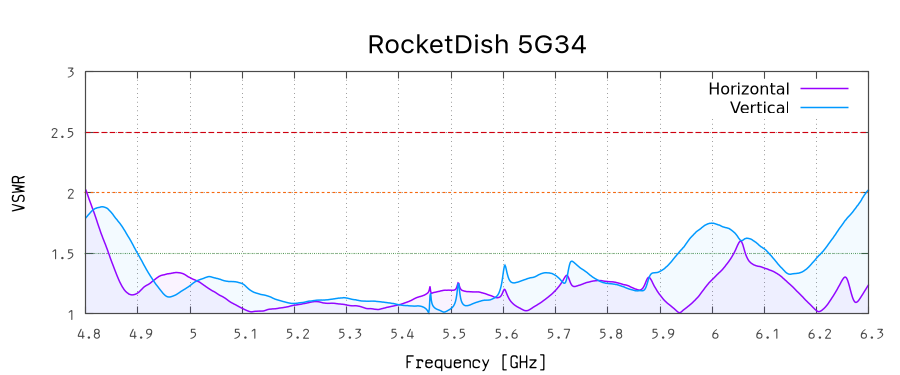
The performance is also great. I measured VSWR below 1.5 between 4.9 and 5.9 GHz which is superb. Between 4.7 and 6.3 GHz the VSWR is below 2.0, which is still good. I used Agilent N5242A network analyzer. Those measurements were performed with the dish removed and only one port was loaded.
I have not measured the isolation between RP-SMA ports using any professional equipment, but I did some preliminary tests with Wi-Fi devices (Metal 5SHPn & Groove A-52HPn) and a signal attenuator. The isolation drops sharply on frequencies 5.46, 5.52, 5.61, 5.73, 5.89 and 6.06 GHz, but is still better than 20 dB. This is consistent with small peaks in the VSWR plot and may explain their existence due to mutual coupling between driven elements.
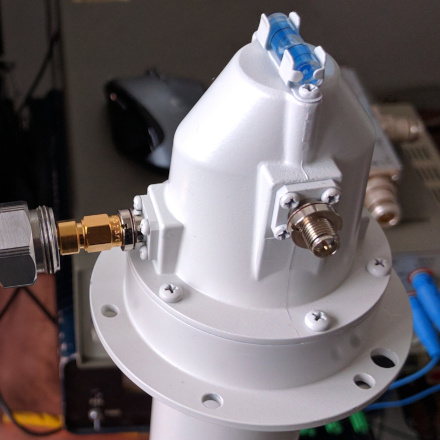
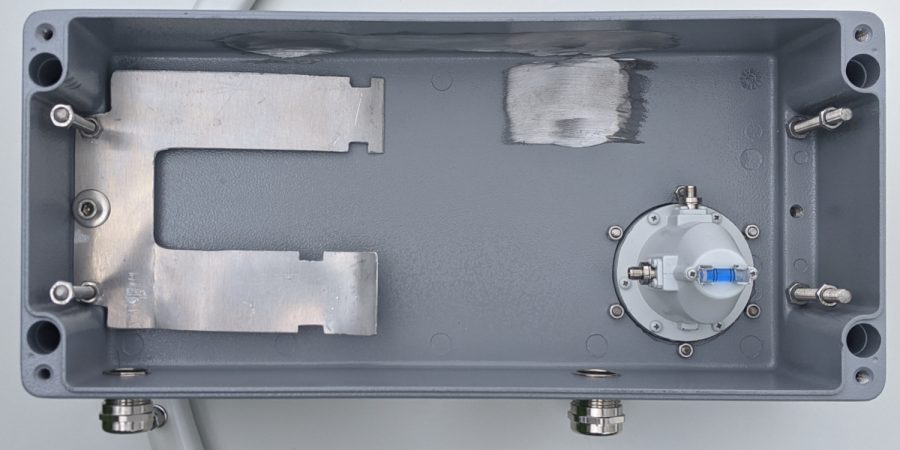
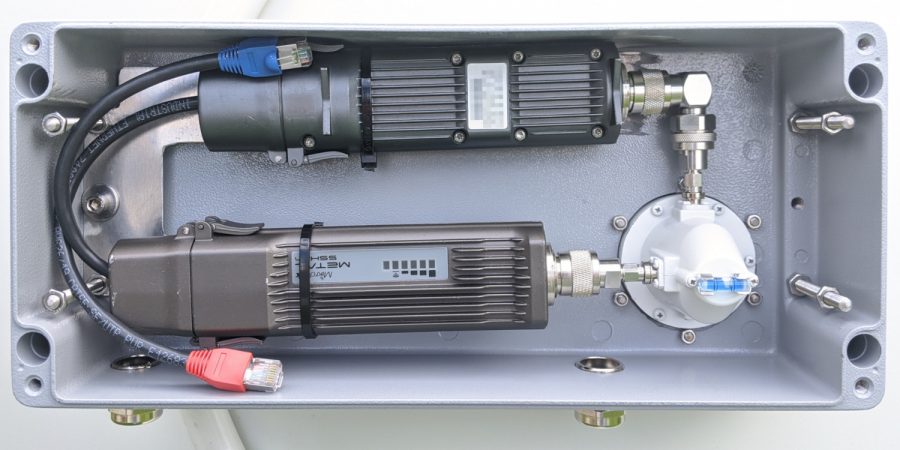
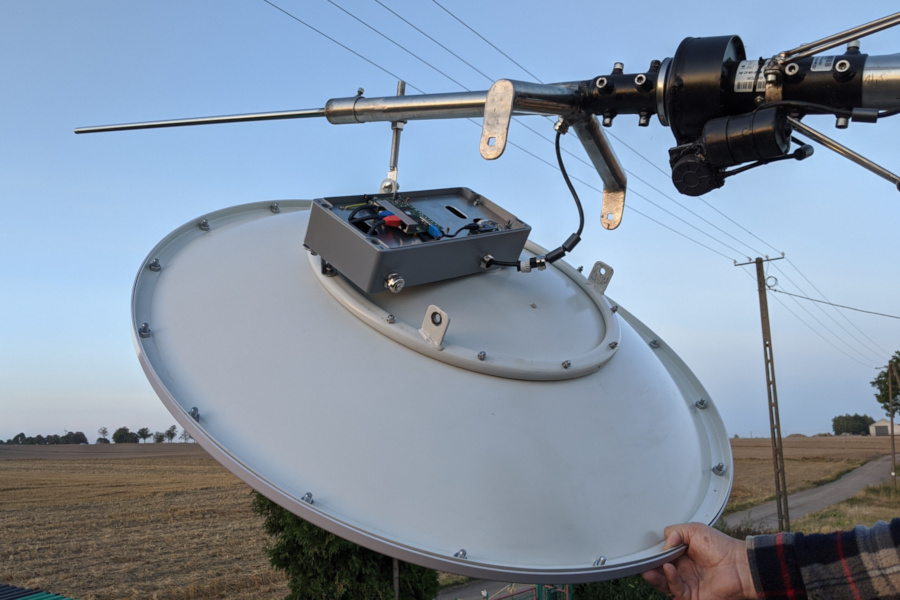
There is a plastic socket behind the dish, which is dedicated for a Ubiquiti Rocket radio. I had to make a custom box for my setup. I bought an aluminium IP66 enclosure Raychem RJ14, but it required a lot of additional work. First of all I installed the antenna feed rotated 90°, so that the one RP-SMA connector is at the top, not bottom. Inside the box I made a special holder for two Metal 5SHPn Wi-Fi radios. In order to fit them I also had to reduce the thickness of the box by making it concave.
To keep the RF losses at the lowest possible level I used professional Telegärtner N (f) to RP-SMA (m) adaptors (J01027R0000) and N (m) to N (f) angle adaptor (J01024J1096).
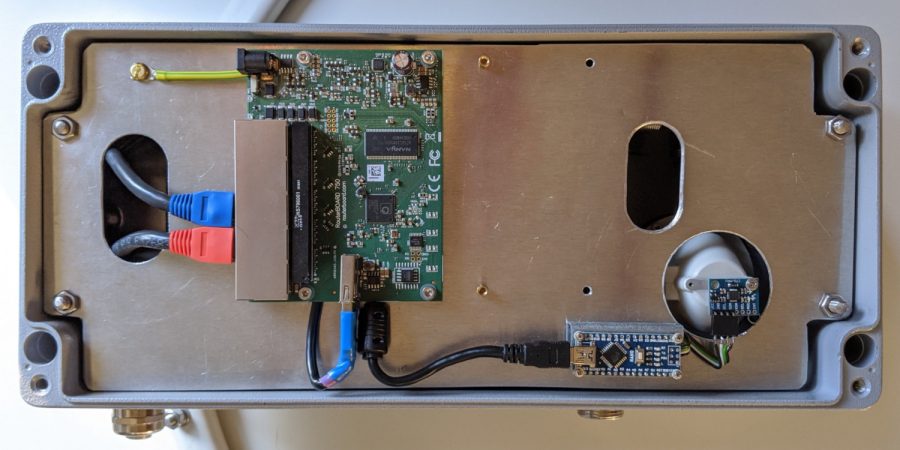
Above the radios I installed an aluminium sheet with a switch (MikroTik RB750UPr2) and Arduino board. The bubble level atop the waveguide was replaced with an accelerometer. It helps with mast leveling with guy lines.
The wave-guide rear panel with RF connectors was installed back together with my custom enclosure. There is enough space between antenna mount and the box to open it up, so the internals can be replaced after installation on the mast without any further disassembly. There are also additional holes for future usage, so someday I can replace two SISO radios with one MIMO (2×2). The sealing between my custom enclosure and antenna’s rear panel is done with a silicone gasket.
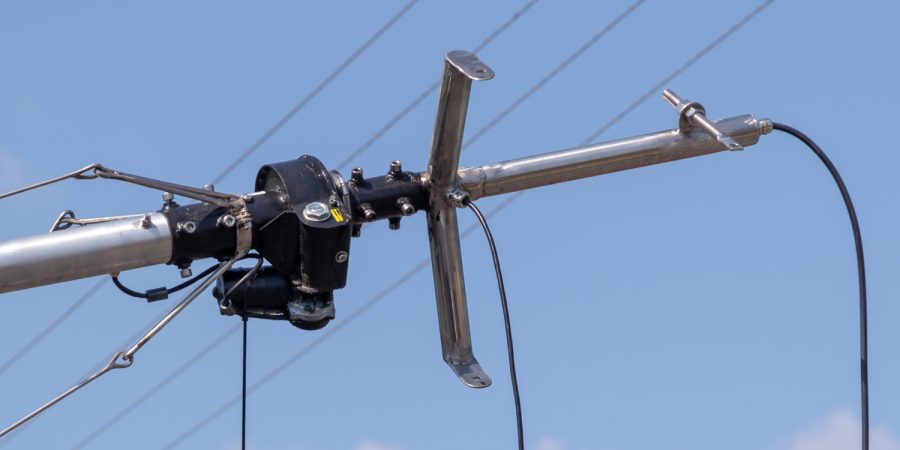
The original antenna mount is pretty heavy, so I made a special stainless holder which is attached directly to the rotator.
|
Pros:
|
Cons:
|
The antenna is now installed with a rotator, at the top of a 20 meter aluminium mast (100×5 mm + 90×5 mm + 80×5 mm + 70×5 mm) and can be remotely controlled from anywhere.

